Mastering CNC Control: How to Set Up Limit Switches and Prevent Errors
This article provides an in-depth exploration of CNC control, covering foundational concepts, practical applications, and engineering insights.
Setting up a custom DIY CNC router or 3D printer using Arduino is an exciting project, but the true test comes during the initial calibration phase. Taking full command of your hardware requires a reliable CNC control system that accurately interprets axis movements and safety boundaries. Once you have completed the basic firmware configuration, the next critical step is moving the machine and testing your limit switches (endstops) to prevent costly mechanical errors.
Why Limit Switches Matter in Custom Builds
Limit switches act as the physical guardians of your machine. Positioned at the extreme ends of the X, Y, and Z axes, these small sensors tell your controller when an axis has reached its maximum travel limit. Without properly calibrated endstops, your stepper motors might attempt to push past physical boundaries, leading to skipped steps, damaged hardware, or frustrating software error messages. Activating and validating these switches ensures your machine knows its exact home position every time it powers up.
Moving the Machine and Testing the Switches
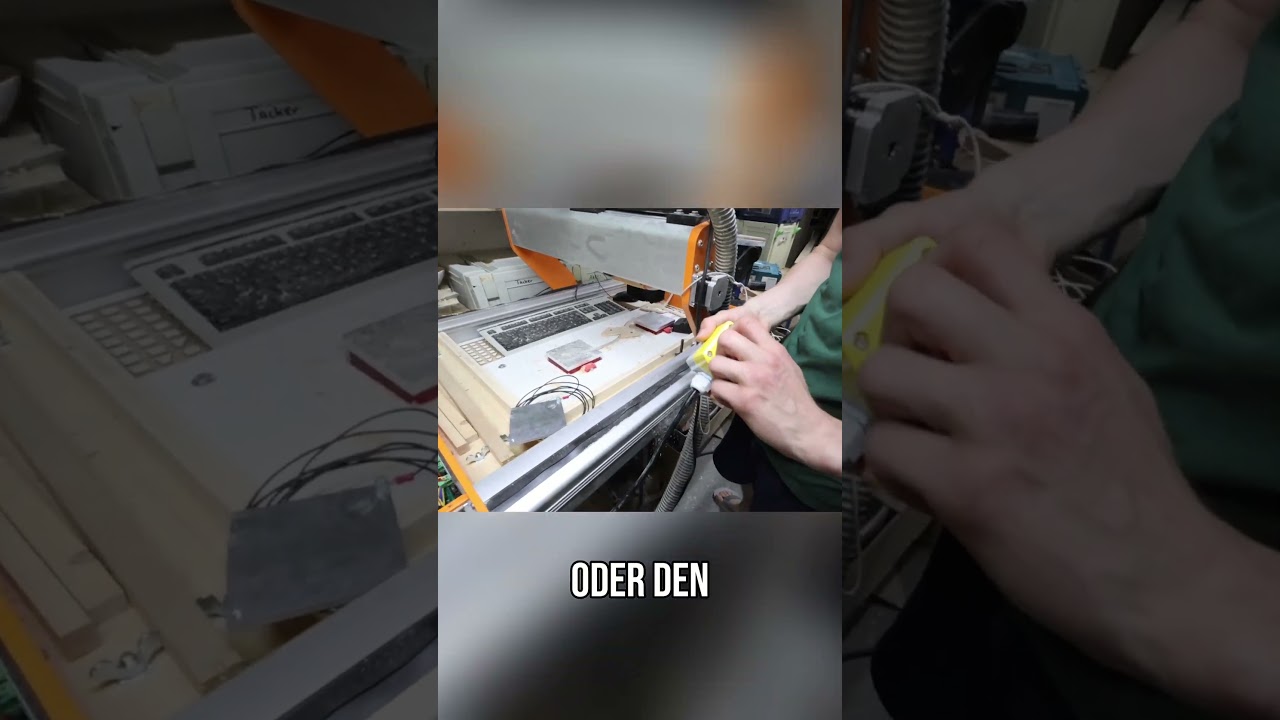
When configuring your CNC control software, you need to manually jog (move) each axis to confirm direction and response:
- Initial Jogging: Move each axis in small increments to verify that motor movements match your software commands.
- Triggering Endstops: Slowly jog toward the endstop or press it manually while monitoring the software status. Ensure the switch correctly triggers a stop command or registers an active signal in the interface.
- Clearing Errors: Once triggered, verify that the system registers the limit correctly without trapping the machine in an unrecoverable alarm state. Back the axis off the switch to clear the trigger status.
Preventing System Errors After Configuration
After confirming that all limit switches trigger as expected, you can securely finalize your software setup. Closing out the configuration process with validated homing routines prevents unexpected alarms and emergency halts during active jobs. Achieving precise CNC control through accurate endstop setup ensures your 3D printing or CNC milling operations run smoothly, safely, and without interruption.
Visual Insights & Illustrations


