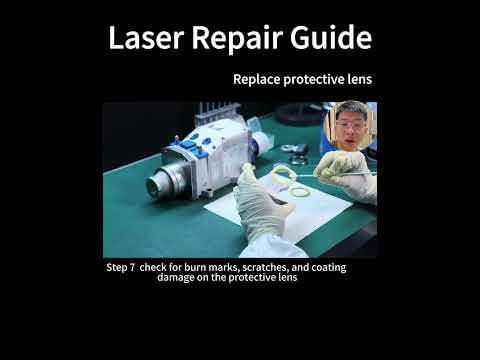
Is your fiber laser cutting quality suddenly dropping? Are you noticing rougher edges, incomplete cuts, or unusual lens burn marks? Before adjusting complex machine parameters, check one of the simplest yet most crucial components: the protective lens. In this practical CNC tutorial, we will walk you through the step-by-step process of inspecting and replacing your fiber laser protective lens to keep your equipment running at peak performance.
Why the Protective Lens Is Critical
The protective lens acts as a shield for your laser cutting head's expensive internal optics. It prevents dust, sparks, and metal debris from contaminating the sensitive collimation and focus lenses above it. Over time, heat and spatter cause debris to bake onto the glass surface, resulting in laser beam scattering, reduced cutting speeds, and poor edge quality. Incorporating lens checks into your regular maintenance routine saves time and prevents costly repair bills.
Step-by-Step Replacement Guide
Follow these essential steps to safely replace your protective window:
- Prepare a Clean Environment: Dust is the ultimate enemy of optical components. Always perform lens maintenance in a clean, draught-free area. Wear powder-free, lint-free gloves to avoid leaving finger oils on the optic surface.
- Power Down and Clean the Exterior: Turn off the laser system completely. Clean the outside of the laser head around the lens drawer using isopropyl alcohol and clean wipes to remove loose particles before opening the compartment.
- Remove the Lens Drawer: Carefully slide out the protective lens drawer. Immediately cover the exposed opening on the cutting head with clean masking tape to prevent ambient dust from entering the internal optics.
- Inspect and Replace: Place the drawer on a clean optical wipe. Inspect the glass under bright light. If there are permanent burn spots or deep scratches, replace it with a new lens. If it is merely dusty, gently clean it with optical lens tissue and high-purity alcohol.
- Reinstall and Test: Place the clean lens back into the drawer, remove the protective tape from the cutting head, and slide the drawer firmly into position. Perform a short sample cut to verify your focus and cutting quality.
Conclusion
Mastering optical maintenance is a key skill for any machine operator. By following this simple CNC tutorial, you can prevent unnecessary downtime and maximize the cutting precision of your machine. If you found this CNC tutorial helpful, save this guide for your workshop and share it with your team!


