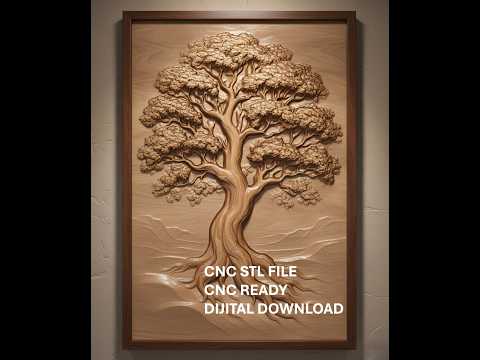
Bringing intricate 3D designs to life on a wood router requires more than just a great model—it demands a flawless workflow. Whether you are creating decorative wall art or custom furniture accents, mastering your initial CNC setup in Vectric Aspire is the secret to achieving razor-sharp relief details. In this guide, we will walk through setting up the toolpaths for a beautiful premium "Tree of Life" 3D STL model.
Preparing the 3D STL Model
Before generating any toolpaths, you must properly import and position your 3D STL file. Start by launching Vectric Aspire and creating a new project that matches your physical stock material dimensions. Import the "Tree of Life" STL model and align it carefully within your workspace.
Pay close attention to your Z-zero position (material surface vs. machine bed) and overall model thickness. Taking your time during this foundational CNC setup stage ensures your bit will not plunge too deep or hit hold-down clamps during operation.
Setting Up 3D Roughing and Finishing Toolpaths
To turn raw timber into a detailed Tree of Life carving, you need a two-stage toolpath strategy:
- 3D Roughing Toolpath: Use a larger bit (such as a 1/4" flat end mill) to clear away bulk material quickly, leaving a thin layer of stock behind for the final pass.
- 3D Finishing Toolpath: Switch to a smaller tapered ball nose bit to carve out fine details, organic wood curves, and leaf textures.
Setting correct feeds, speeds, and stepover percentages during this phase is crucial to prevent bit chatter and minimize post-carving sanding.
Simulating and Exporting G-Code
Vectric Aspire offers a powerful 3D preview feature. Always run a full toolpath simulation to spot potential collision risks or missed details before sending the file to your router. Once satisfied, export your G-code using the correct post-processor for your machine.
With a systematic CNC setup, you can confidently hit "Cycle Start" and watch your CNC router transform raw wood into a breathtaking 3D masterpiece.


