Have you ever dreamed of owning a CNC machine but found the price tag of commercial units intimidating? While cheap online desktop kits exist, they are often small, underpowered, and lack the rigidity required for serious projects. Building your own DIY CNC router from scratch might seem like a daunting engineering task, but as many makers have proven, it is entirely possible even if you only have limited tools and no prior experience.
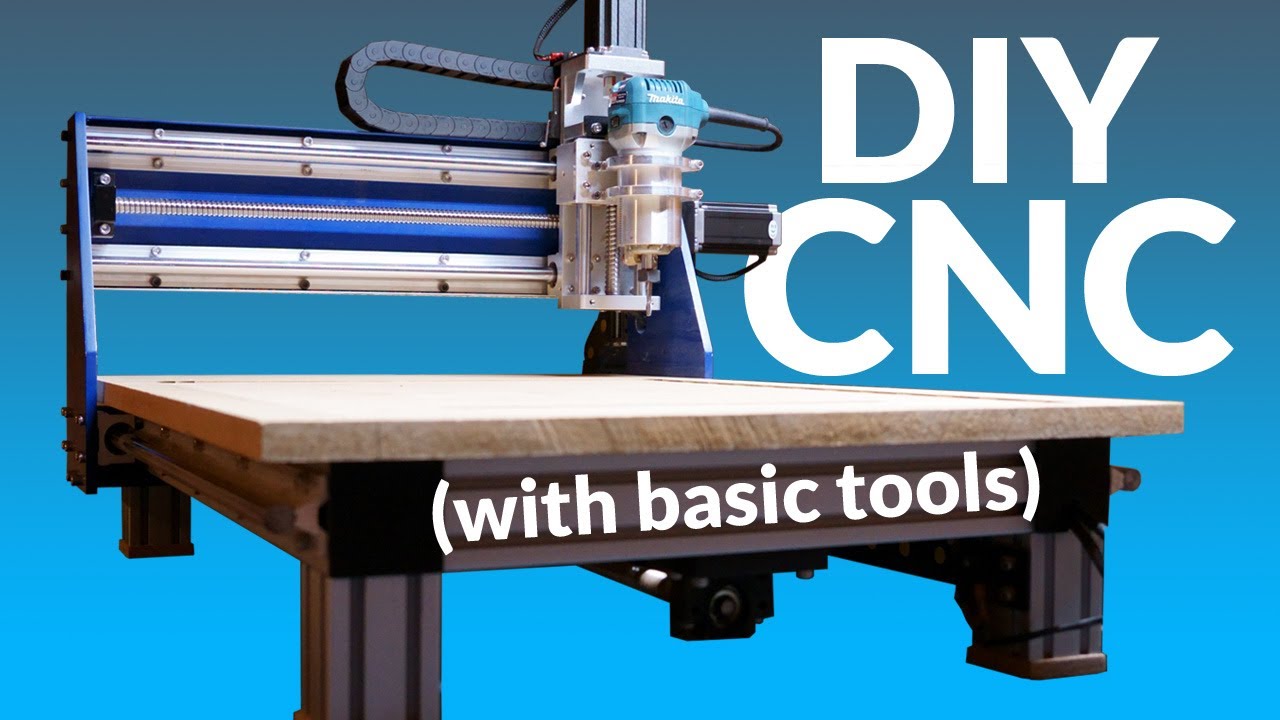
Empower your workshop by building a custom DIY CNC router machine from the ground up.
What is a CNC Machine and How Does it Work?
CNC stands for Computer Numeric Control. Essentially, it is a milling machine operated by a computer that drives motors to execute precise and repeatable machining tasks. While humans might struggle with consistency, a CNC machine excels at it.
The system works by interpreting instructions called G-Code. The computer sends these codes to stepper motors, which differ from regular DC motors because they move in tiny increments called "steps." These motors are linked to a linear motion system—such as ball screws or belts—converting rotational movement into precise lateral motion across three or more axes (X, Y, and Z).
Key Design Choices for a Rigid DIY CNC
When engineering a custom desktop CNC router, two factors dictate success: power and rigidity. Without a rigid frame, the machine will flex, ruining your cuts or preventing you from machining harder materials like aluminum. Key component selections include:
- Drive System: A screw-driven system (using ball screws) is highly preferred over belt-driven designs due to superior rigidity and force transmission.
- Frame Materials: Utilizing heavy-duty 6060 aluminum extrusions provides an excellent strength-to-weight ratio while remaining affordable. Solid aluminum plates (e.g., 3/8-inch or 1/2-inch thick) work best for heavy-stress structural components like the Gantry side plates.
- Linear Rails: Supported linear rails on the X and Y axes ensure smooth, deflection-free travel.
- Spindle Choice: The Makita RT0701C router is a popular, cost-effective, and widely reliable spindle choice for desktop builds.
The Hardware Construction: Building with Basic Tools
You don't need an industrial machine shop to build a high-quality CNC. A successful build can be accomplished using standard workshop tools: a basic benchtop drill press, a miter saw (which can cut aluminum surprisingly smoothly), files, digital calipers, and a metric drill and tap set.
| Axis Component | Common Dimensions / Spec | Function |
|---|---|---|
| Y-Axis Rails | 800 mm Supported Rails | Moves the entire Gantry frame assembly forward and backward. |
| X-Axis Rails | 600 mm Supported Rails | Carries the Z-axis carriage left and right along the Gantry. |
| Z-Axis Assembly | Pre-built Linear Unit | Controls the vertical movement and depth of the router spindle. |
To ensure perfect alignment with limited tools, a smart trick is to bolt identical plates (like the Gantry sides) together while drilling and filing them. This guarantees they end up exactly the same size and shape, preventing structural binding later on.
The Electronics and Brains of the Machine
The movement relies on strong stepper motors, such as high-torque Nema 23 motors, paired with individual digital stepper drivers and a dedicated power supply (usually 36V).
To orchestrate the motion, an Arduino Uno running open-source GRBL firmware serves as the budget-friendly intermediary control board. It translates commands from your computer software (like Universal G-Code Sender) into step and direction signals for the drivers.
Standard low-cost cables can act as antennas, picking up electronic noise from the power draw under heavy loads. This often triggers false positives in your limit switches, causing the machine to stop mid-job. To avoid this frustration, always use shielded microphone cables for motor and switch wiring, and route them tidily using drag chains.
Testing, Calibration, and Enclosures
Once fully assembled, the final step involves prepping the spoil board—a sacrificial MDF surface fitted with threaded inserts to clamp down your workpieces. Using a wide facing bit to flatten the surface ensures the bed is perfectly parallel to your spindle tip.
Additionally, constructing a clear acrylic and wood enclosure is highly recommended. A CNC router flings dust and wood chips everywhere, so an enclosure keeps your workspace pristine while dramatically dampening the loud whine of the router spindle.
Watch the Full DIY CNC Build Process
Building a custom DIY CNC router requires patience and can easily take months of planning, tweaking, and calibrating. However, the reward of seeing a machine you built with your own hands cleanly carve complex 3D wood designs or precision aluminum parts makes the entire engineering journey worth it.


